Live the questions now.
-Rilke
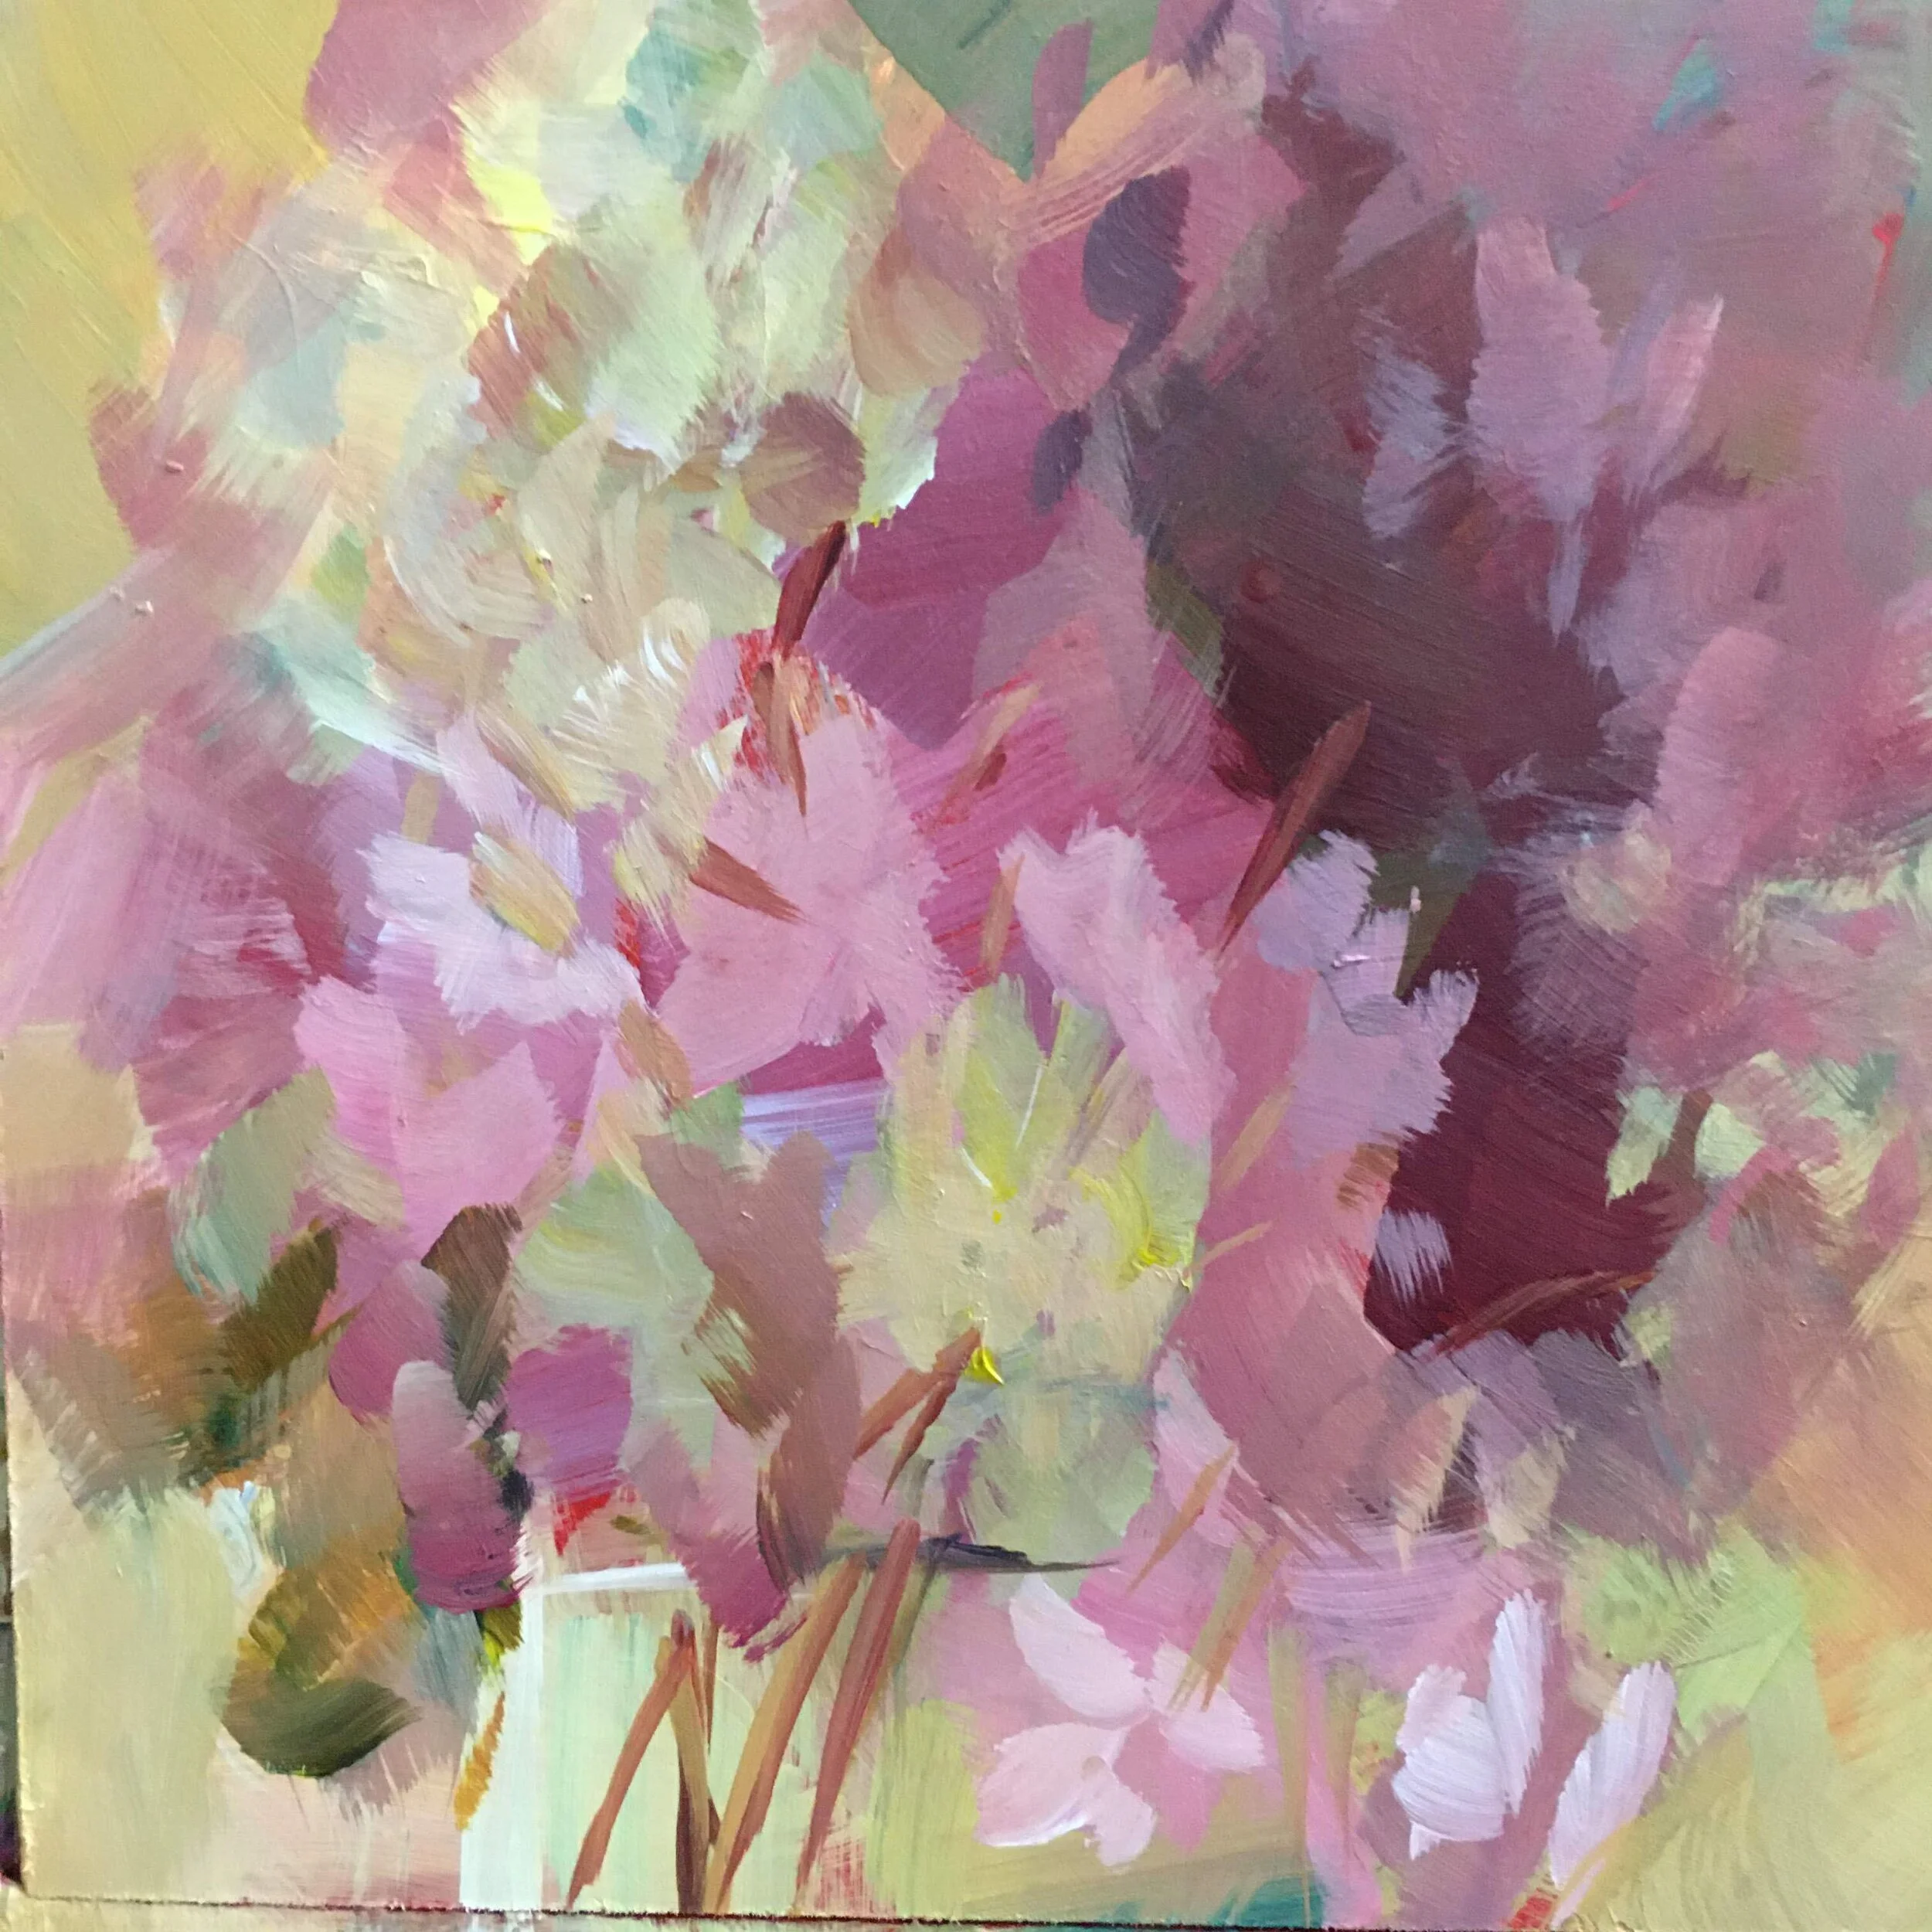
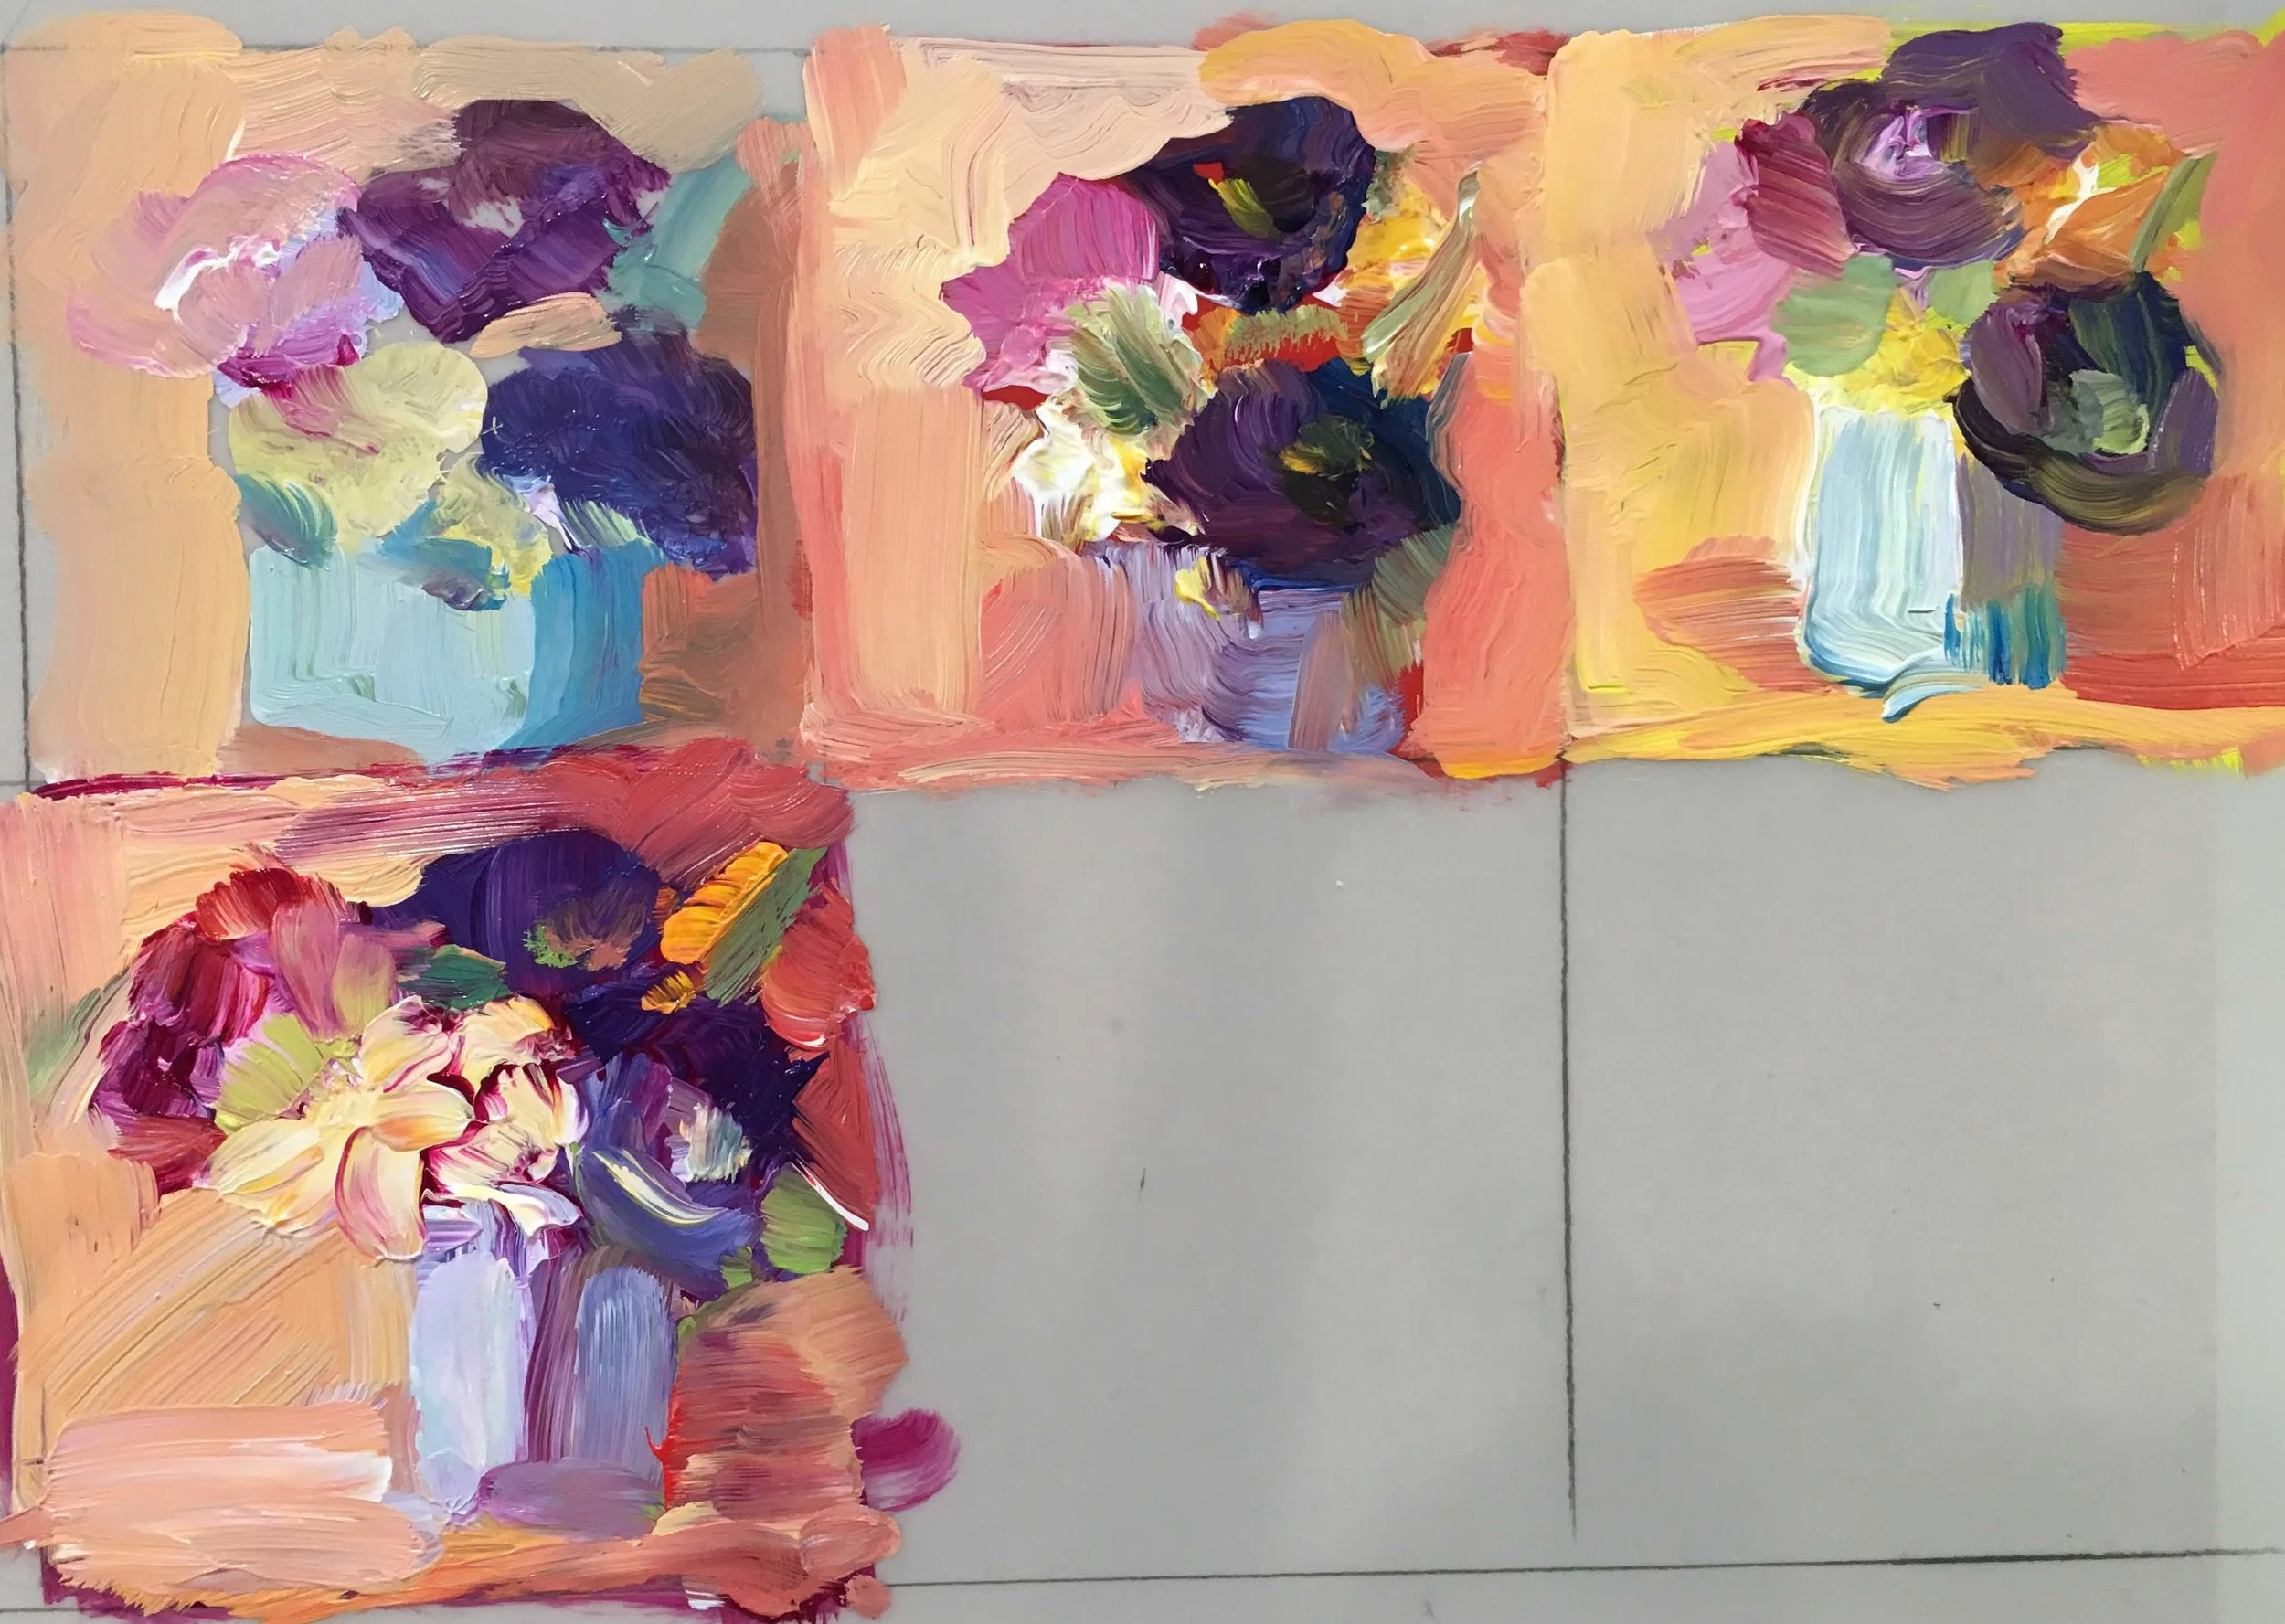
Thumbnail studies.
This weekend I got to be a student again, with the talented Lisa Daria Kennedy, at Concord Arts. Familiar lessons felt new. Here’s what a weekend taught me.
Small space + short time = strong thinking.
Start with thumbnail sketches to think through the problems. Build your confidence by practicing. Remember that ideas will flow from doing.
Pick a subject. Choose something to investigate. If your goal is pure abstraction, write down the words that suggest what you want to convey.
Choose your palette. Limits set you free. Work with a few colors. Three cool and/or three warm primaries plus white is enough.
Lay out a gird. Use a template; draw small squares or rectangles. A view catcher lets you quickly mark out identical 2” squares.
Gather essentials. Substrate. Brush for painting. Glue and a spreader for collage.
Turn off your phone. Shut the door. Turn on music or just savor the quiet.
Set your timer. A deadline motivates. Set your alarm for 5 minutes.
Make a study. find the main colors, shapes, values. Where are they in the frame?
Repeat. Just keep your hands moving. in 20 minutes, you’ll know your subject better, and ready to work longer and bigger.

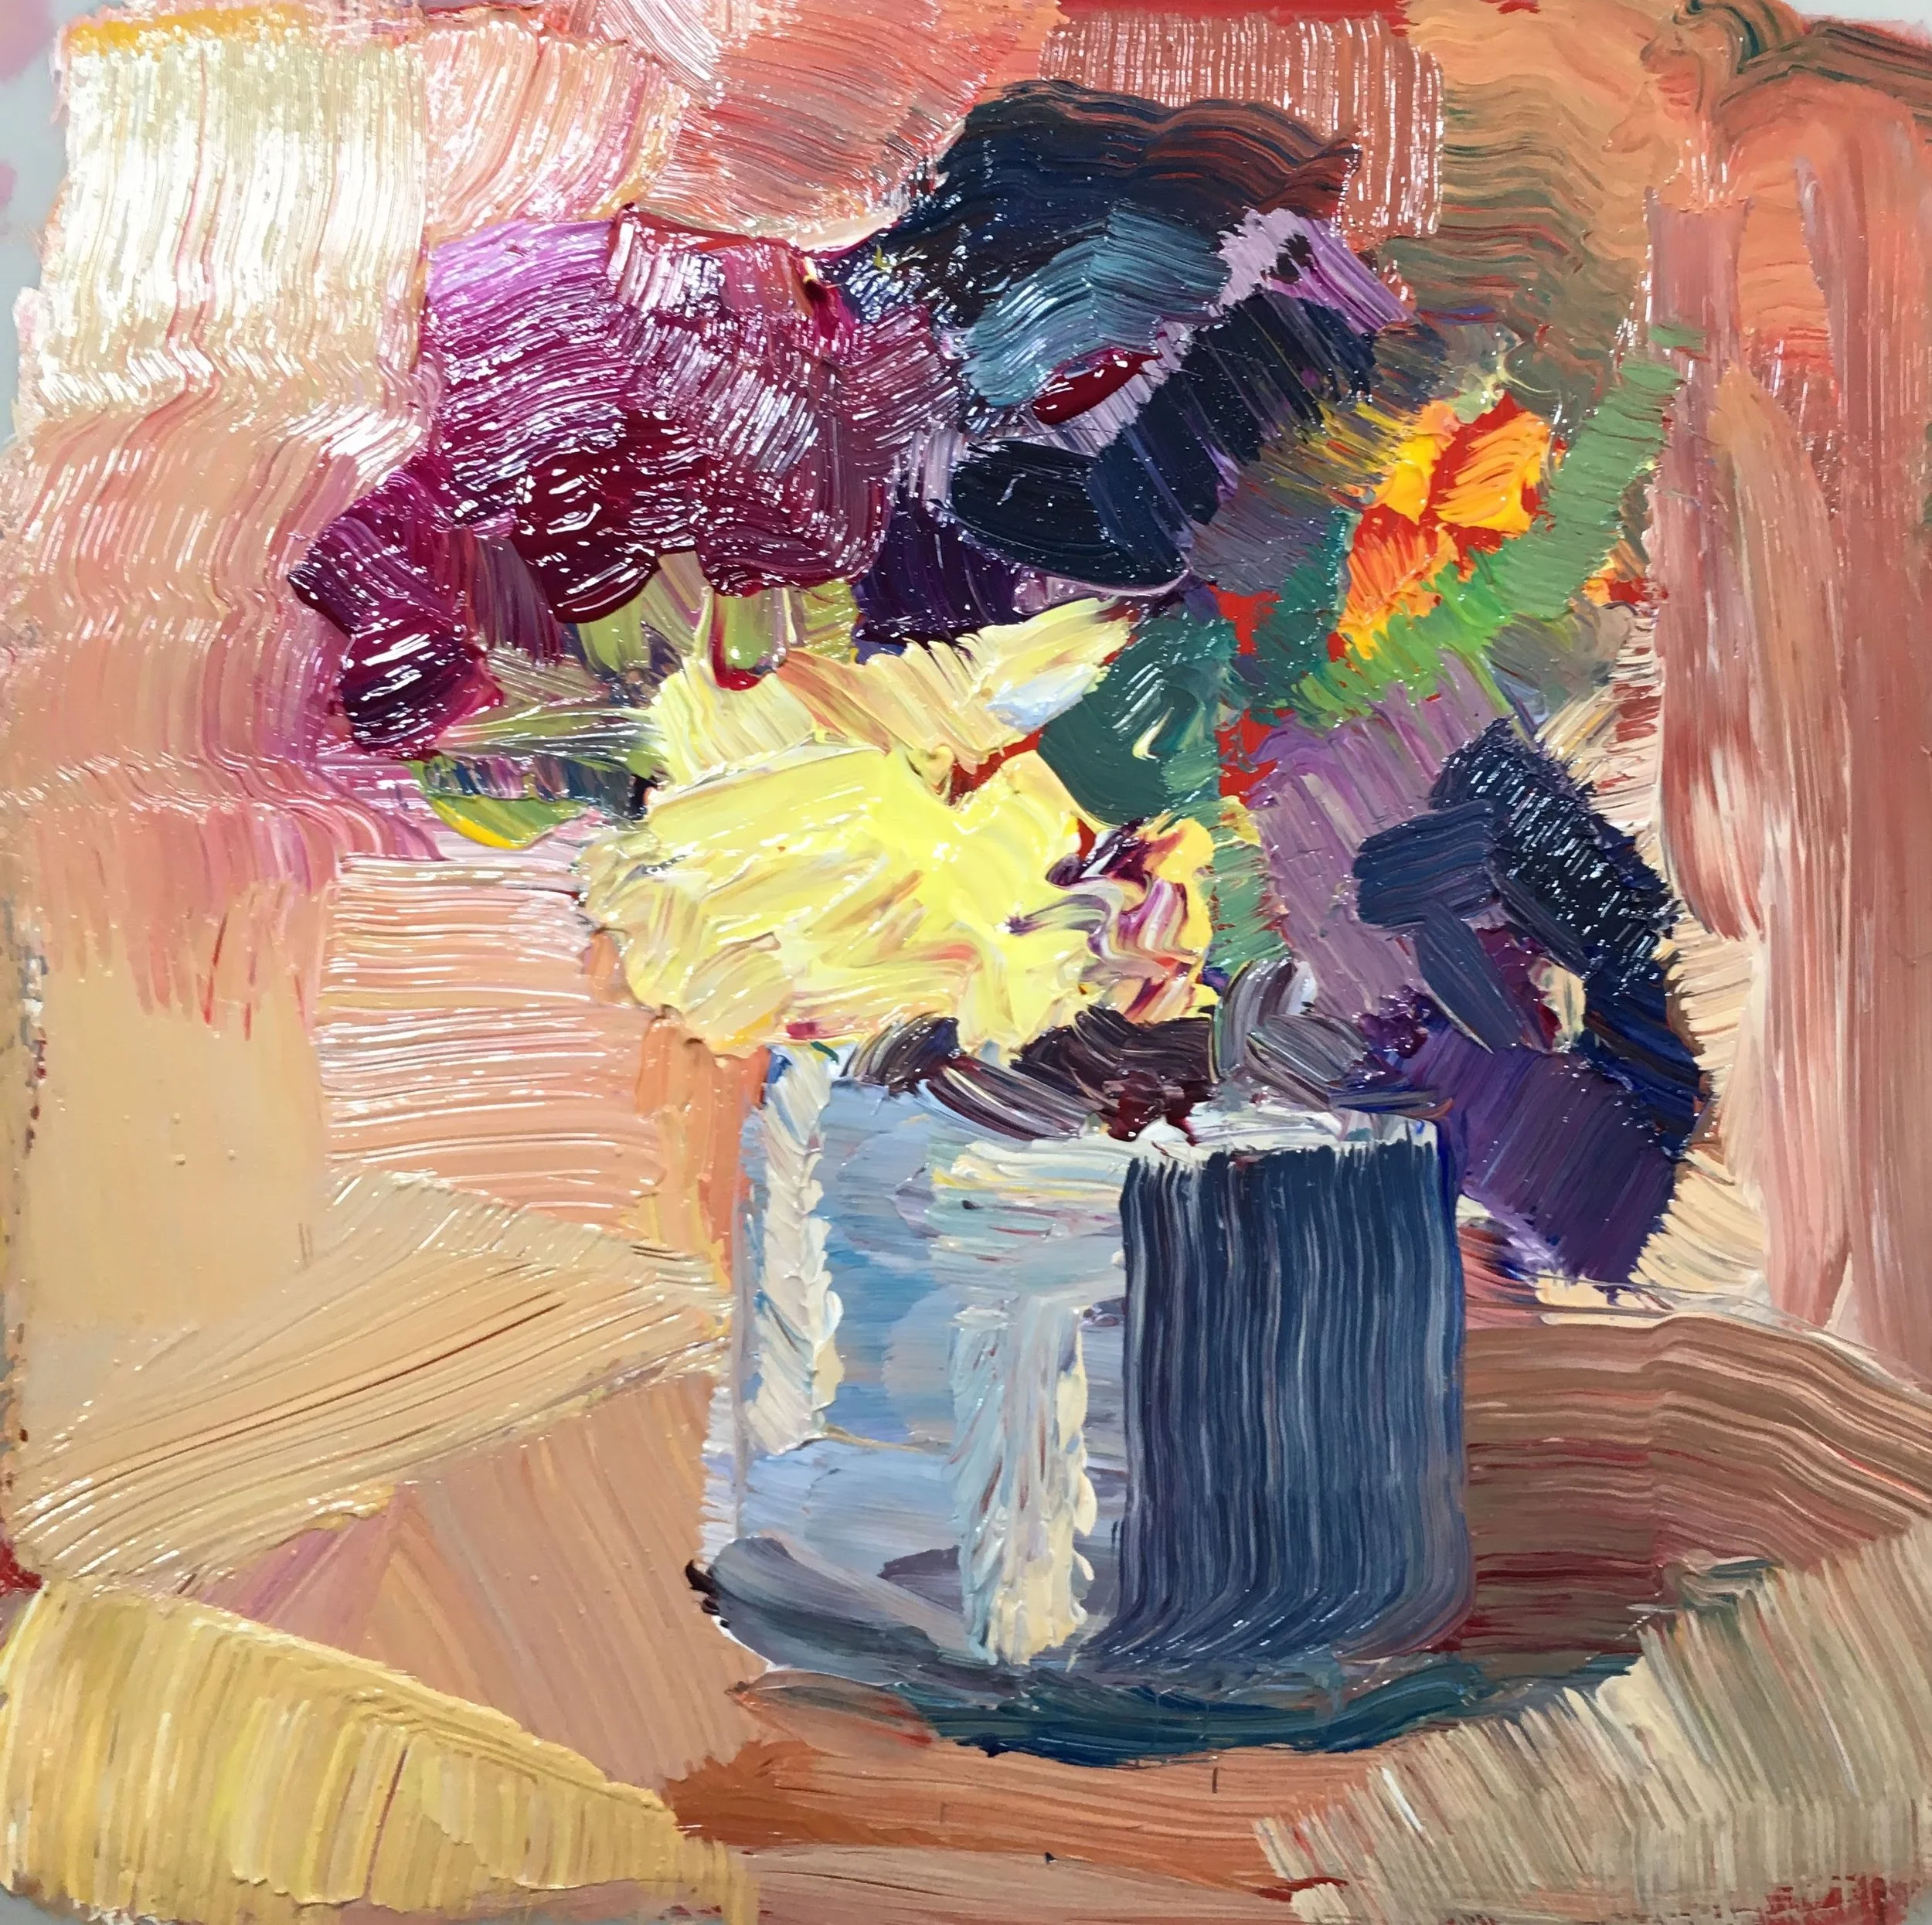
6x6” acrylic - first try after thumbnail studies
Many thanks to Lisa Daria Kennedy and her class, Daily Painting: Embrace the Practice, at Concord Arts. She reminded me how powerful small steps can be.
Small space, big art
How to make a 7’ collage in a 2’ space, in your living room.
How to create big art in a small space? My home studio is in my living room. I have one 6’ table and the storage space under that, plus a small bookcase. Paints, brushes, collage materials, gelli plates and other tools crammed in.

Small space. Big dreams.
Last month I decided to make an artist’s book about migration. Dual challenge: work large, be serious. All in a small space and short time.
The answer: collage as if sewing. Attach small together to make big. Working vertically, I created a long piece by continually attaching to the bottom. The work evolved on its own. (Thank you, Jane Davies).
I started with blues, for sky and ocean, for the water that migrants cross and for the sky the birds and butterflies move through. The blue of dreams and distance.
As I worked, the colors moved into greens with flashes of warm, and circles for suns. Towards the bottom, the silhouette of a girl. This side is the dream: pastures of promise, with a blue sky overhead.
The other side is black and white: torn letters, text, newspaper articles, and, repeatedly, a question from USCIS webpage: “Who is eligible?”
You can see “Migration” through August at the Loading Dock Gallery in Lowell.

Editing a Collage
Use acrylics to edit and rework an old collage

working back in

Before

After
Consider acrylic paint a valuable tool when you want to edit an existing collage.
In collage, paper is intoxicating. But sometimes a purely paper layer gets too complicated visually. You look at an old piece and feel disappointed. Simpler shapes, different colors, perhaps these could make your meaning clearer? When that happens, get out your acrylics, and take some risks to transform the base layer.
Create transparencies. Many acrylics, especially the quinacridones, are transparent. Thin them with fluid or gloss medium. The resulting colors can transform your collage while letting underlying elements glow through. Start with a small area, and then extend the effect if you like what it’s doing for the piece.
Obscure and simplify. Reduce visual complexity with opaque colors. Solid colors create new shapes and can change the visual emphasis. They remove distraction and introduce broad strokes that create new areas and directional cues for the viewer’s eye.
Work back in. While acrylics are wet, scribble back in to create new spontaneous writing. Or wipe the paint back to reveal lower layers of collage. You can also sand dry paint, which makes for an interesting, aged look. Check out Jane Davies’ blog to see this technique on a bold scale.
Add texture. Apply paint with stamps and stencils to create new elements and texture. You can also create actual texture by altering your paints. Mix your color into a textured grounds from the art store. Or make your own by mixing gel medium and color with small quantities of sand, coffee grounds, thread snippets, or shredded paper.
Collage is a journey of layers. Be bold. Take risks. Let go, and see what happens.
Here’s how I reworked one older piece.:
Have you ever substantially reworked a piece? Do you have before and after pictures? I’d love to see them.
Using bits of time
One way to make mess-free art when all you have is a tiny space and little time.
Small art
for tiny moments
“If you love life, do not waste time, for that is what life is made of.” — Ben Franklin
Yesterday I had to be indoors, gallery-sitting at the Loading Dock Gallery. The holiday weekend, plus a stunning summer day, ensured a quiet day. However, with time to work, I needed to greet any customers who dropped by. How to create focus that I could interrupt? How to make art in a tiny space, with fragments of time?
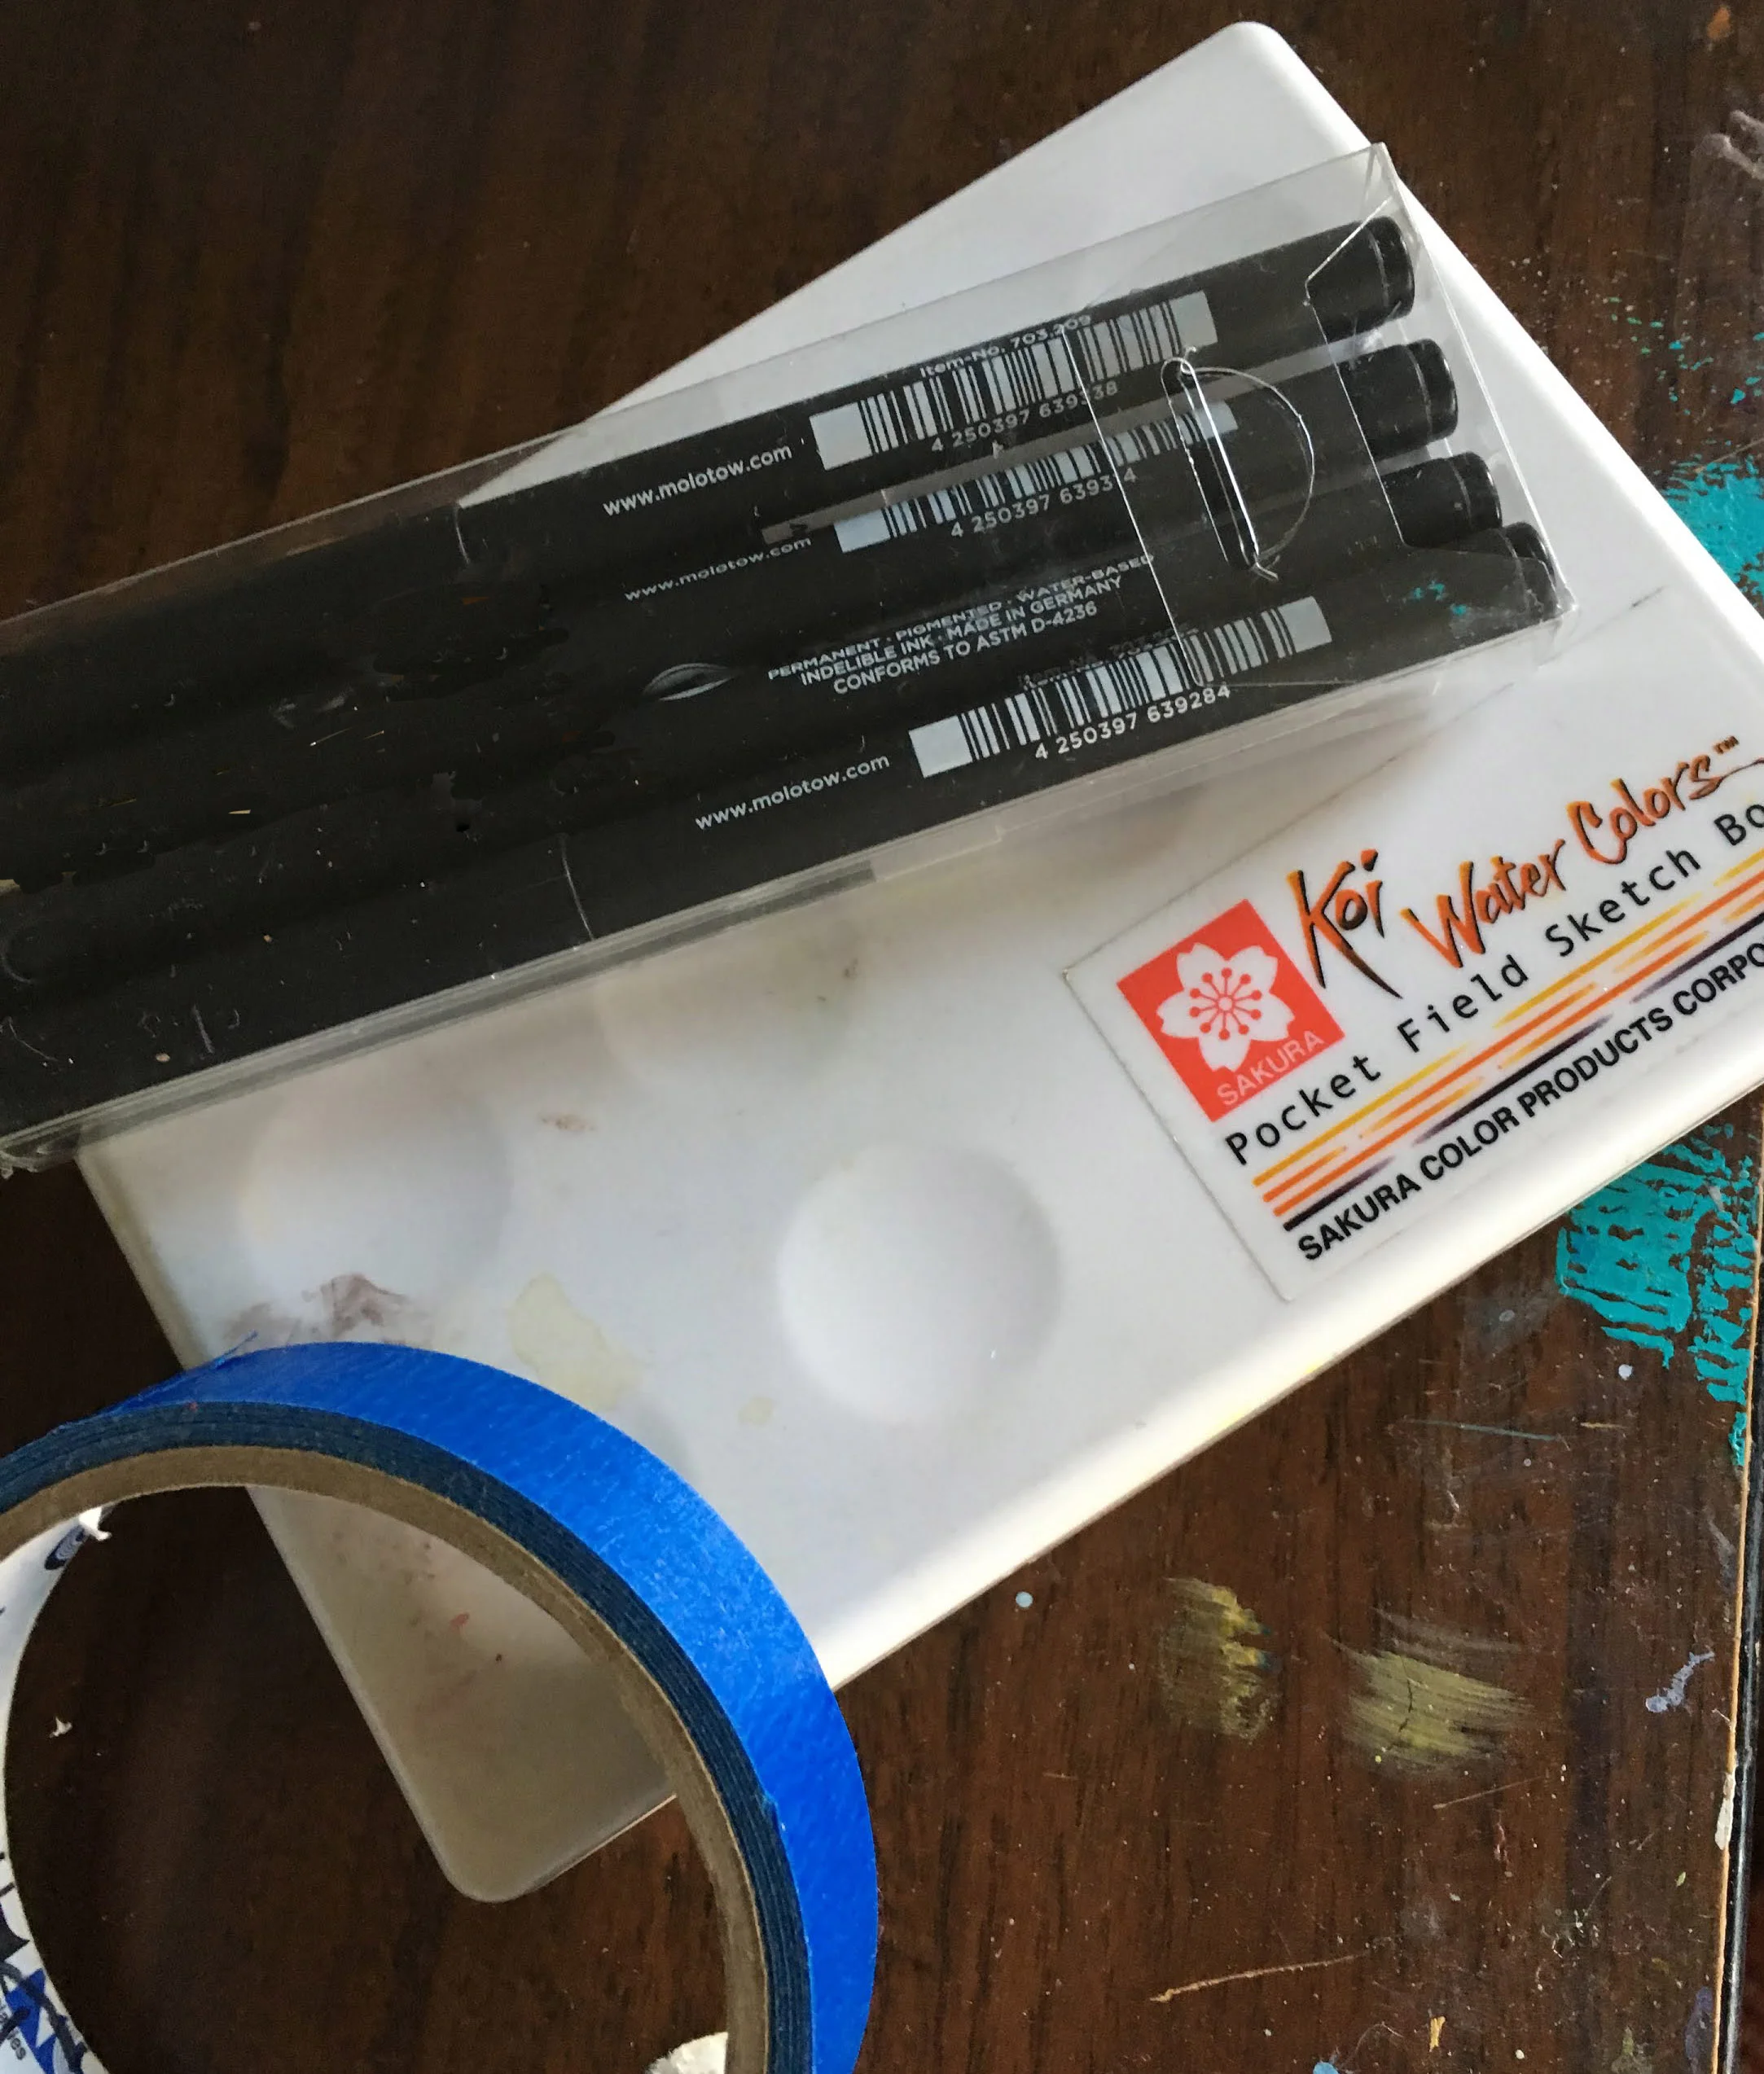
Answer: Tidy materials. Small scale.
I packed blue tape, markers, a water brush, and a Koi Watercolor set. I also grabbed a small mixed media sketchbook and my waterbottle. Once settled into the gallery, I taped a page off into four squares . This gave me four tiny “canvases,” each about 1.25 on a side. With little water and a paper towel handy, I was off to my imaginary landscapes.

Blue tape
produces a crisp frame. Remember: paint to the edge for the best results. Judge your colors by each other, not the tape.
With the landscapes, I explored different horizon treatments and palettes. The Koi pigments tend to be very bright. It’s a challenge to create a more subtle mood.
Then, customers appeared. For most of an hour, I was making conversation and closing sales. During brief break, I removed the tape and washed my brush. More customers; some longer conversations. A little sale.
Finally, a quiet spell. I taped up a new page, this time with a better eye for results, locating the squares closer to the center of the page. I looked around the gallery for inspiration. On the wall opposite, city scenes by Wendy James. That was a new challenge.

Small size
reveals the composition. Simplify colors into clear blocks. As you paint, notice which details are essential, and which can drop away.
Turns out cities are harder for me: less familiar and more rigorous. The first and last images were stronger because I borrowed from James’ paintings. She’d already done the hard work, simplifying shapes, choosing colors, and organizing them into a compelling composition. Tip 1: learn from artists you admire.
My other two images are more muddled because I was working from photographs. I was working out too much at once - detail, color, placement -so the whole got muddled. Tip 2: Make value/composition studies first.. Next time!
Still, it felt good to paint, to ask these questions and get some answers in between the public work of selling.
Do you have a kit you use in public spaces? Do you sketch on the train? Paint during your lunch hour? How do you fit art into the small spaces of everyday life?


Art in Rehab: Summer Chickens
In which I learn that chickens make other people happy, too.
I work several times a week in rehab and long-term care communities. The job requires patience, clarity, and enthusiasm. You need to meet folks where they are. Most are elderly. They have lived through more than I have, and have memories I can barely imagine, such as skating on Fresh Pond, now fenced in, or riding the long-demolished trolley from a suburb into Harvard Square.
They also come with any amount of artistic experience, from none to near professional. So any assignment must be adaptable to all levels, and still offer the chance to feel accomplished at the end of an hour. Often this means I sketch the basics for them, so they spend the hour painting. Initially this felt wrong -shouldn’t all the work be original? A conversation with a talented friend who works with children reassured me. “They call this scaffolding,” she told me. “You give them a structure they can build on, while you release that initial fear of failure.”
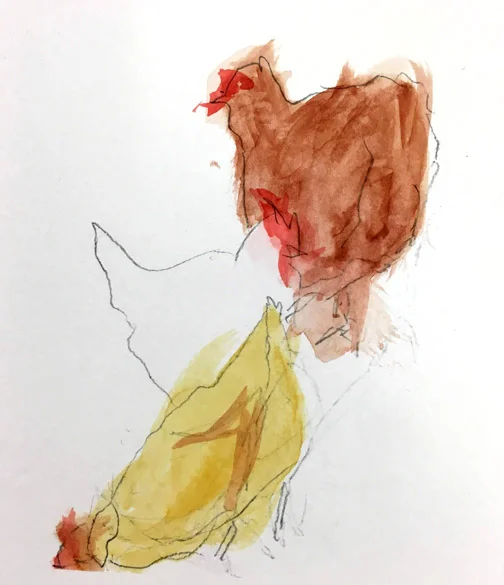
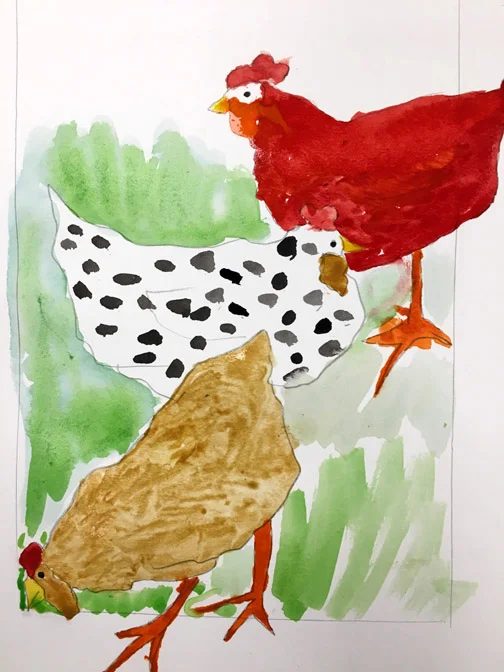
So this month: chickens. Thank you, Pinterest, for the original painting - I regret not noting the artist’s name. But the clarity and humor always made me laugh. Turns out it works for others too. I painted my sample chickens pink, purple, and green. “They are not ‘real’ but still we recognize them,” I pointed out. “Make these your chickens. Any colors you want.” Everyone reached. One person even painted piglets from her memories of the family farm. Enjoy.


Sign up for art tips and studio news: